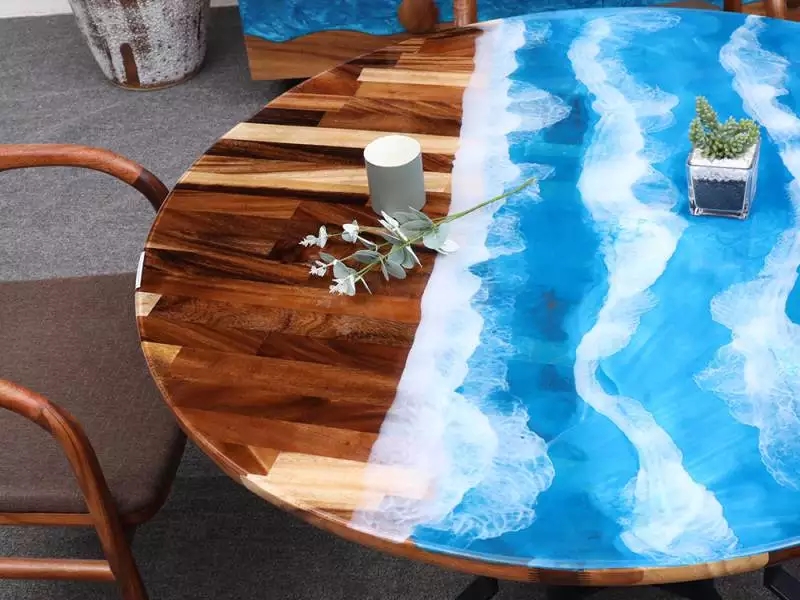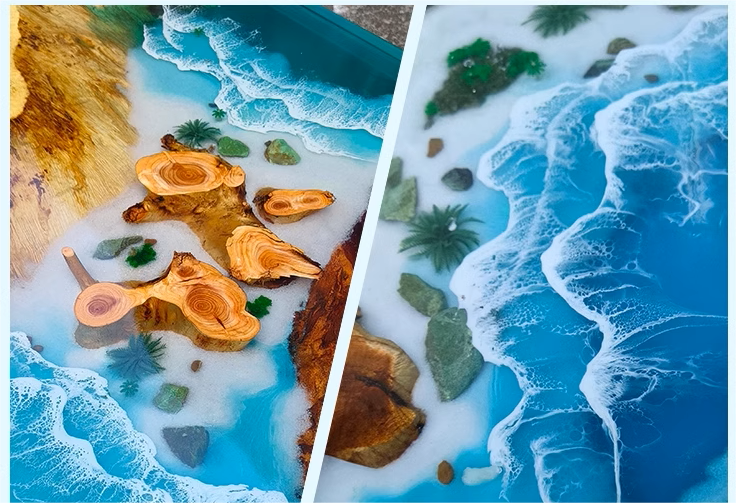

The production process of resin river table
Crafting a Resin River Table: The Process Unveiled
Resin river tables, also known as epoxy river tables, have gained popularity for their unique and mesmerizing aesthetic appeal. Combining natural wood with colorful resin creates a stunning effect reminiscent of flowing rivers. Here's a glimpse into the intricate process of crafting a resin river table:
1. Selection of Materials: The first step in creating a resin river table is selecting the materials. High-quality wood, such as oak, walnut, or maple, is chosen for its durability, grain pattern, and visual appeal. Additionally, colored epoxy resin is selected to create the "river" effect. Various pigments and dyes may be used to achieve the desired color and transparency.
2. Preparation of Wood Slabs: The selected wood slabs are carefully prepared by cutting, planing, and sanding to the desired dimensions and thickness. The edges are squared off, and any imperfections or knots are filled and sanded smooth to ensure a flat and even surface.
3. Creation of Mold: A custom mold is constructed to contain the resin and support the wood slabs during the pouring process. The mold is typically made from melamine, plywood, or silicone, and it is sized to accommodate the dimensions of the table.
4. Placement of Wood Slabs: The prepared wood slabs are positioned within the mold, ensuring a tight and seamless fit. The slabs may be arranged in a book-matched pattern to highlight the natural grain and symmetry of the wood.
5. Sealing and Leveling: Before pouring the resin, the wood slabs are sealed with a protective finish, such as epoxy resin or polyurethane, to prevent air bubbles from forming and ensure proper adhesion. The mold is then leveled to ensure an even surface for the resin to settle.
6. Mixing and Pouring Resin: The epoxy resin is carefully mixed according to the manufacturer's instructions, taking care to achieve the desired color and viscosity. Once mixed, the resin is poured into the mold in layers, alternating with layers of colored resin to create the river effect. Special techniques may be used to create swirls, patterns, or other decorative effects within the resin.
7. Curing and Finishing: After the resin is poured, the table is left to cure and harden for several days or weeks, depending on the type of resin used. Once fully cured, the table is removed from the mold and any excess resin is trimmed and sanded away. The surface is then polished to a smooth and glossy finish, revealing the beauty of the wood and resin.
8. Final Assembly: Finally, the table legs or base are attached to the resin river tabletop, completing the assembly process. The finished resin river table is inspected for quality and craftsmanship before being delivered to its new owner, ready to be admired and enjoyed for years to come.
In conclusion, crafting a resin river table is a labor-intensive process that requires skill, patience, and attention to detail. From selecting the materials to pouring and curing the resin, each step plays a crucial role in creating a stunning piece of functional art that showcases the beauty of nature and the creativity of the artisan.


